
Doing It With Tara: DIY In Bed0
Posted In Blog,DIY
by Tara Diane
So there are definitely many things that can lead to an injury when you’re involved in extracurricular bedroom activities, and one I am fairly certain occurs often is head-to-headboard trauma. To prevent this from ever happening to you or your lady friend ever again, I made a tutorial on how to make your headboard feel like a pile of clouds (and actually look kind of cool). I apologize if this tutorial is somewhat scattered, hopefully the pictures explain better than I can articulate. It’s actually really super insanely easy to do, it’s just hard to write it all out.
To start, you need a board. If you have a headboard on your bed – sweet – you’re all set. If not, I’m pretty sure you could cut a piece of plywood to the correct size and follow the same directions below. Or you could probably find one on Craigslist or at a thrift store for pretty cheap. At any rate, you need a headboard.
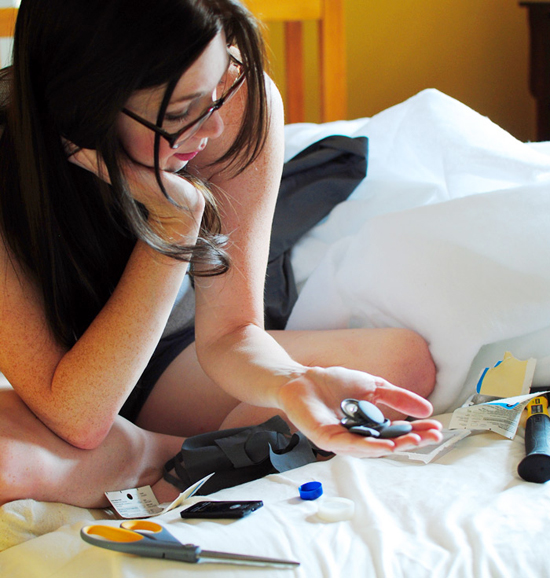
What You’ll Need (for a queen sized bed)
- One queen-sized top sheet
- Two full-sized quilt batting packs (they look like this and are available at any craft store/fabric store/Wal-mart/etc.)
- 6 cloth covered buttons in whatever size your little heart desires (they come in kits at any craft store/fabric store/wal-mart/etc; if you can’t find them just ask)
- 1 box of upholstery nails (around 30-50 nails)
- 5 safety pins
- Hammer
- Scissors
- A staple gun, if you want your life to be easier (otherwise another box of upholstery nails)
1. First, cut about two inches off one end of your sheet. It’s probably best to cut off the folded top section. This will be used to make your fabric-covered buttons. Cut six two-inch squares out of the fabric scrap, then follow the directions in the video below.
You now have six fabric-covered buttons! Set them aside.
2. Fold your sheet into thirds, hamburger style. When it’s folded like this, make sure it is wide enough to fit around the headboard with a couple of inches to spare. If it’s folded correctly and you have a queen sheet and bed, this shouldn’t be a problem.
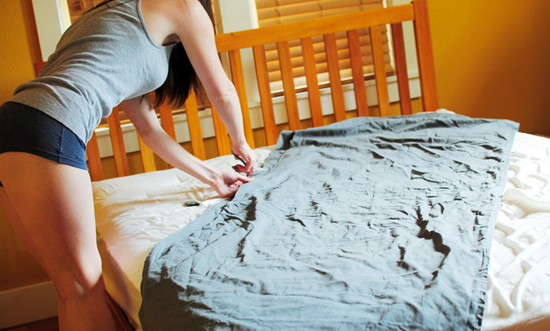
3. Now, cut the top third off of sheet. This will give you one third of the sheet, which you can set aside, and the other two thirds of the sheet still connected and folded in half.
4. Take each of your quilt battings and fold them into thirds, placing them on top of the sheet. You want to have at least a two inch margin of sheet poking through around all of the edges, so you might have to trim the batting to make it fit.
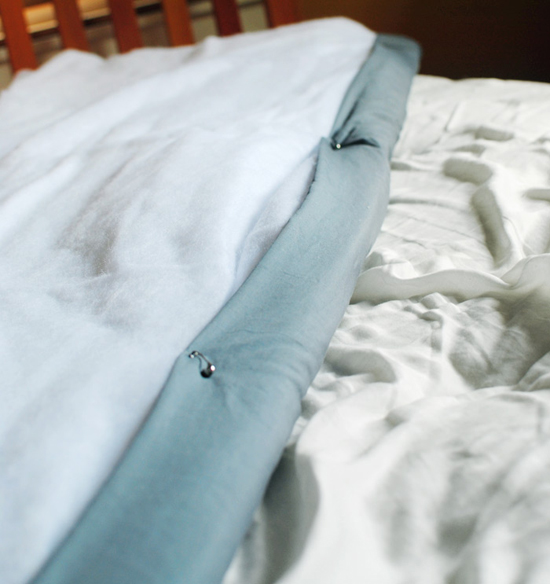
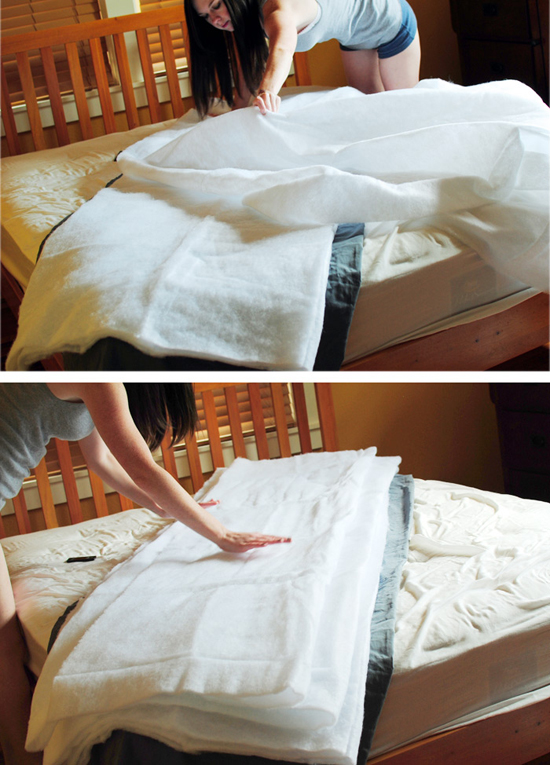
5. On one of the long ends, fold the sheet over the batting about two inches. Safety pin the sheet to the batting. It doesn’t have to go through every layer of that shit, and you definitely don’t want it to go all the way through to the other side of the sheet. This is going to be the bottom of your headboard.
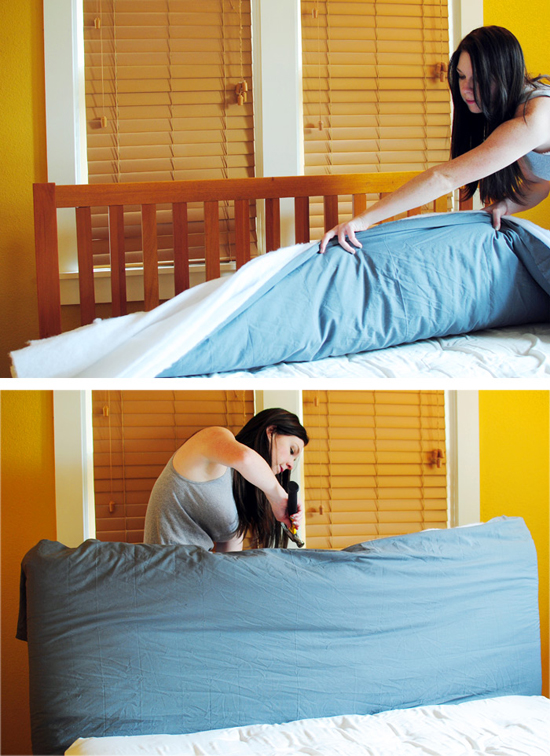
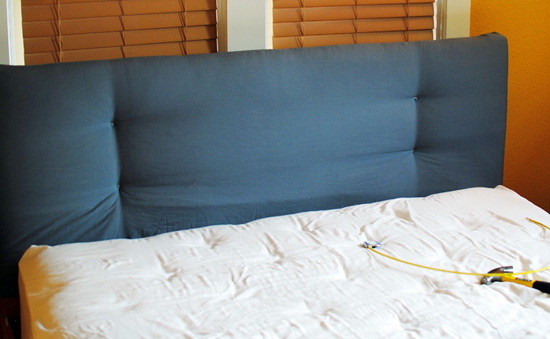
6. Put the fabric junk in place so that the bottom reaches about where you would like it to, then tack all of the corners in place with nails or a staple gun.
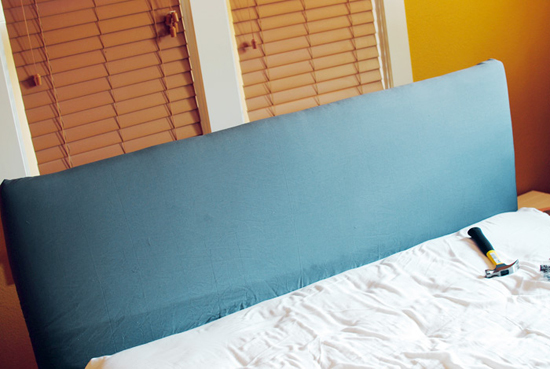
7. Pull the fabric tightly around the sides and staple or nail it in place. This is the point where I started throwing a temper tantrum because I realized I had the shittiest little nails on the planet, and switched to staples. After the sides are pulled tight, pull the top and staple/nail it.
The back will look really horrendous, like that.
8. With the section of sheet you had set aside earlier, create a back to your headboard. To do this, fold the edges of the sheet so that they look nice and finished and fit over the ugly shit you just did. Use pretty upholstery nails, spaced out equally, to tightly attach it. This probably won’t show, since it will more-than-likely be against your wall, but you want it to look decent anyhow. If that sounded confusing or complicated, it’s really not at all when you are physically doing it. Doing it. Physically. Perv laugh.
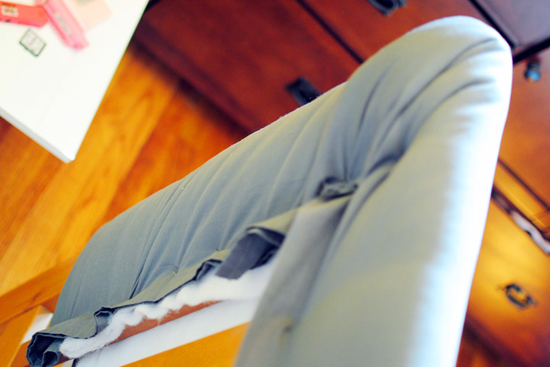
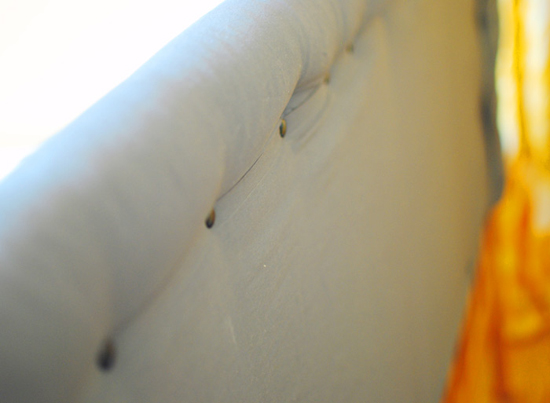
9. To make fake button indents (because let’s face it, you’re probably really fucking over working on the project at this point and don’t want to start drilling holes and shit) just use staples or nails through the front. Make six indents, three rows of two. Glue your cloth-covered buttons over these marks with heavy-duty fabric glue.
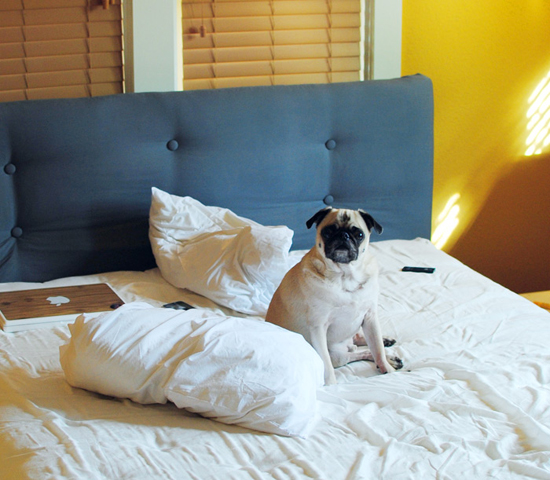
10. If your headboard was as wrinkly as mine was, you might want to steam it or take an iron to it at this point. Then, since you’re already there and probably tired from all of this crap, take a nap, because your ass is fin!
Word. Have a good week. It was nice getting in bed with you.